Saturday, April 20, 2013

Professional Development Class : Week 1

Getting Started
First Week of class, and I'm already feeling overwhelmed!
There are more than a dozen artists who are ready to get professional in the Develop Your Style Class at Milan Fine Art Studio. I have take 2 classes there, and really like how Elli teaches. She's got the right balance of practical advice, encouragement, and helpful critique. And I am ready for a big challenge!
The point of this class is to push us to develop a body of work that is sellable, and to develop both a personal style and a process for painting.

We were each supposed to bring examples of what we've done, and visual examples of what we want to do. My theme is going to be "Family" - mother and infant, couples, parents and kids, siblings, etc. I want to paint people that aren't specific individuals, in a loose, painterly style. Renoir and Mary Cassat are artists whose style I'm liking.


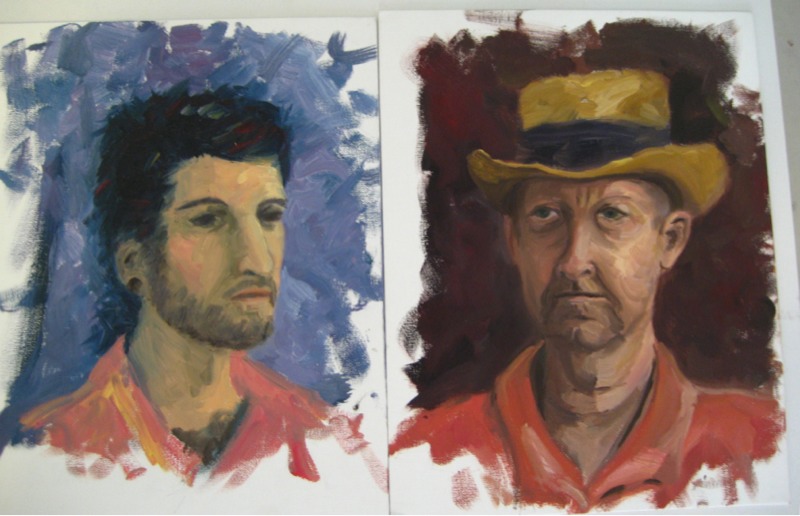
Each artist shared with the group, and Elli gave frank feedback. Some things she said were along the lines of: 'that won't sell' - which in my case is pretty much all the paintings of people I have done so far. (I will show you those in a bit if you promise not to laugh.)
Reason: in a portrait, the person in the painting is looking out at the viewer. They are entering the viewer's space. Paintings where the person is NOT looking outward, but at something or someone within the painting, those create a little world of their own. And so the viewer can enter the painted space as an observer.


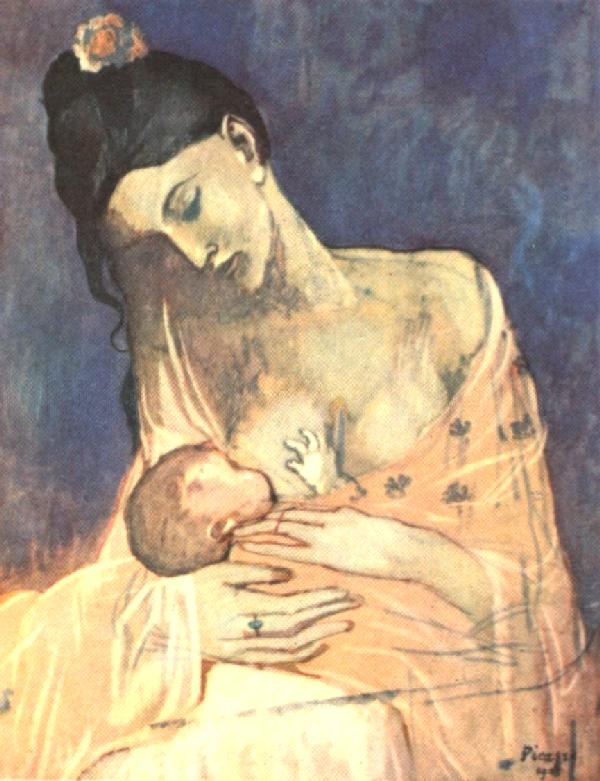
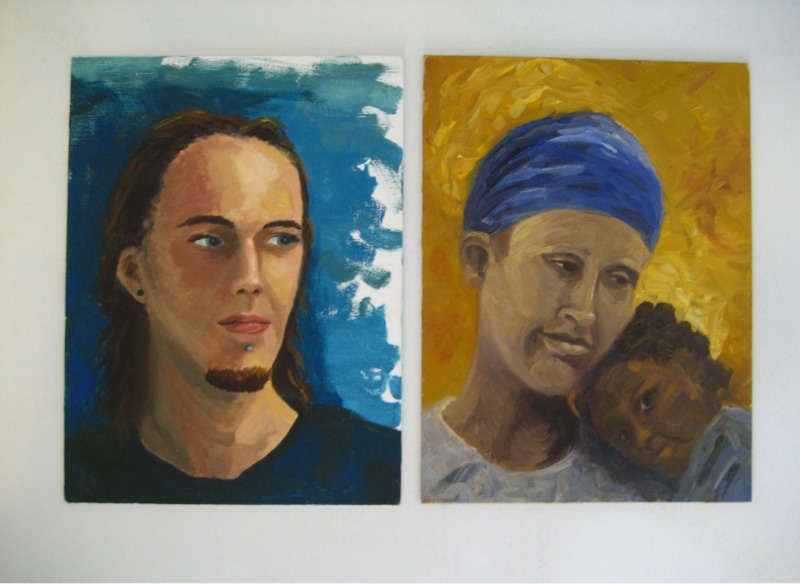
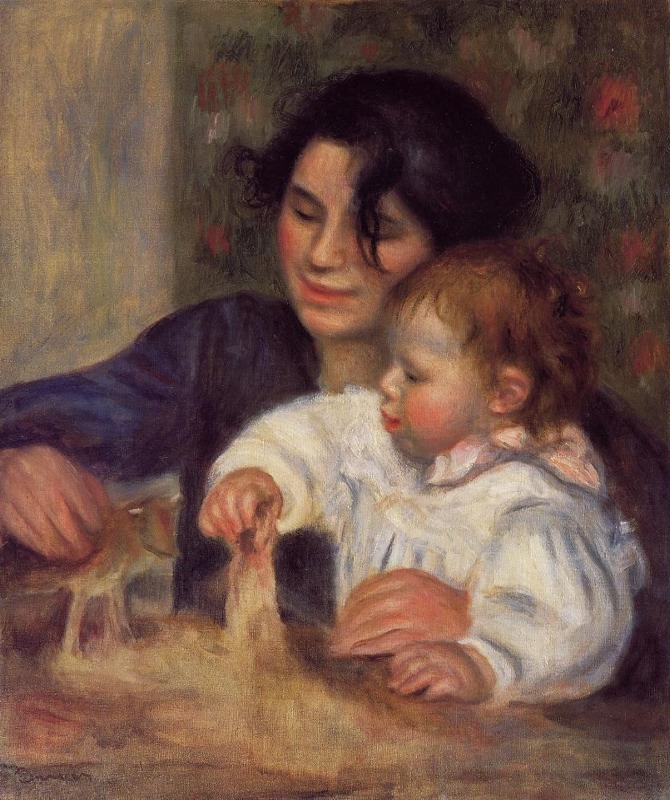
Using some of the examples of paintings by Renoir and Picasso that I had brought, she showed how this works. And she told me that none of the potential source photos would work, because the people were looking at the camera. Or they were 'ethnic.' Which irks me, because I want to paint humans in all their diverse flavors and colors. But this is a guideline I will stay in, for now, and just paint white people. Like this mother and child. (But I might make them purple.)


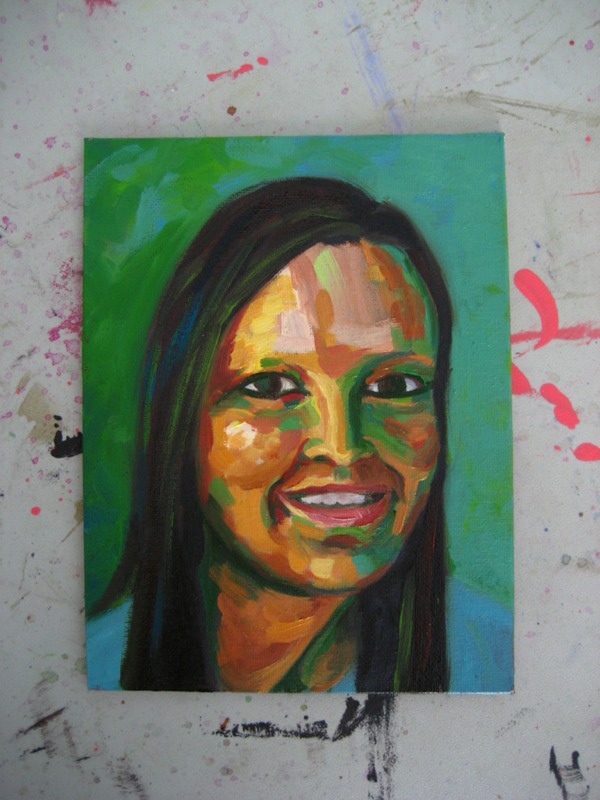
I will post the last painting I did- which isn't finished yet, and may never be. I have made some really awful paintings lately, trying to get loose, painterly, use more color than just fleshtones, and just play around.


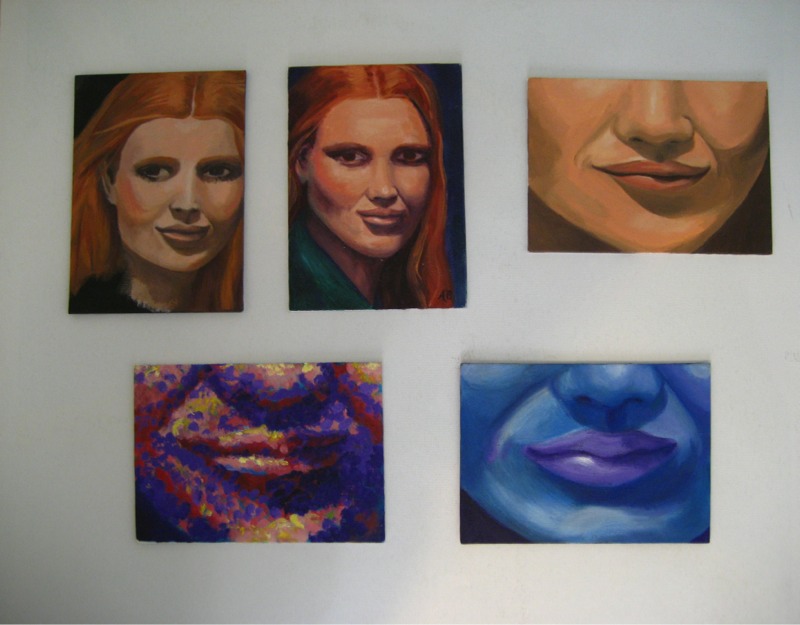
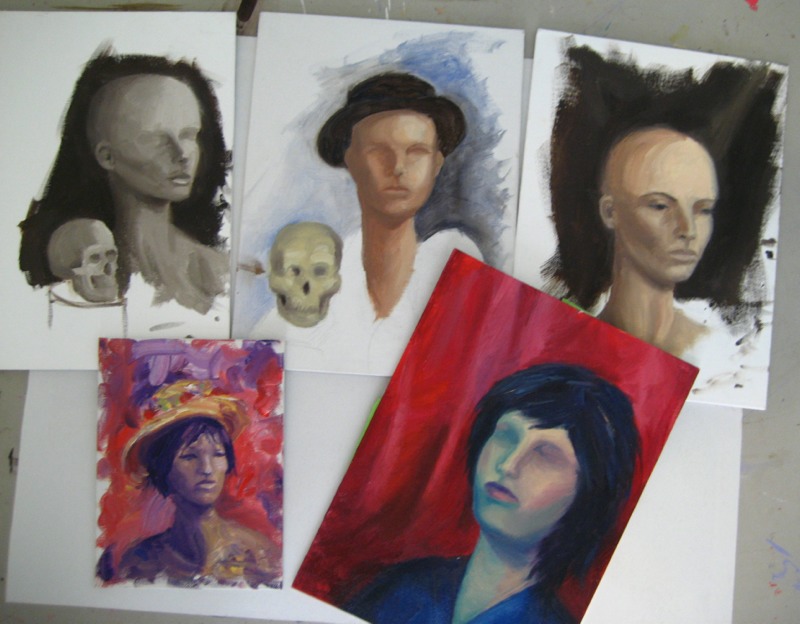
And what the heck, here's a gallery of most of my portraits so far:


So, while these don't suck, obviously I have a lot to learn!
I am looking forward to this class. I know I will have to deal with lots of resistance, and frustration, and general grumpiness and procrastination.
I should probably be painting right now, instead of blogging! But I can procrastinate in SUCH creative ways!

Posted by Adriene Buffington

Frustration and My Creative Process


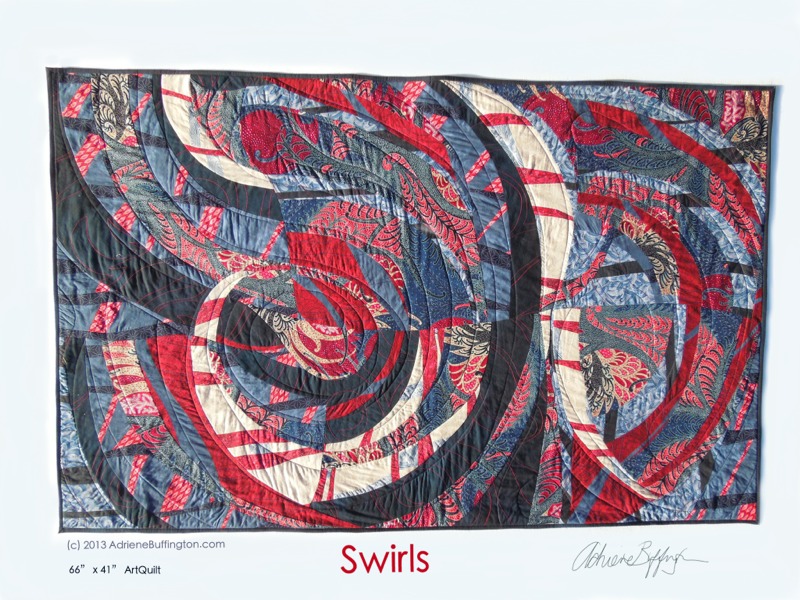
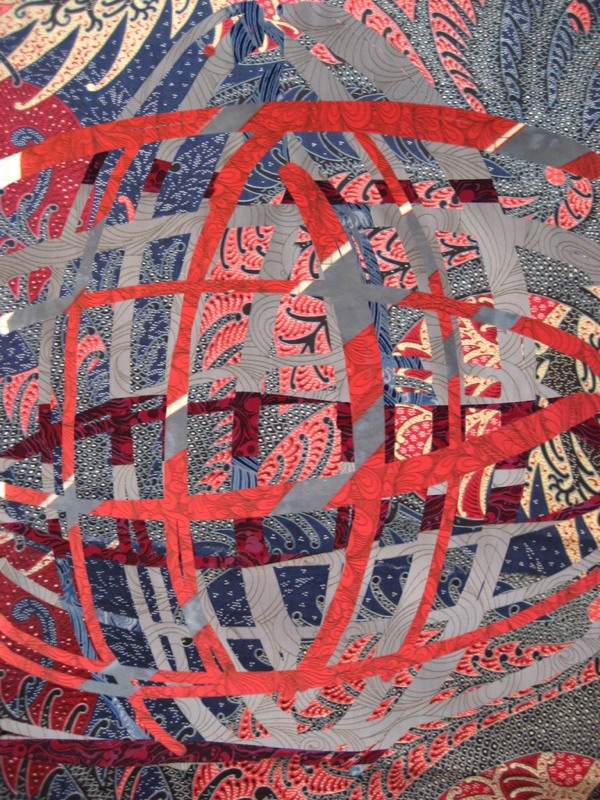
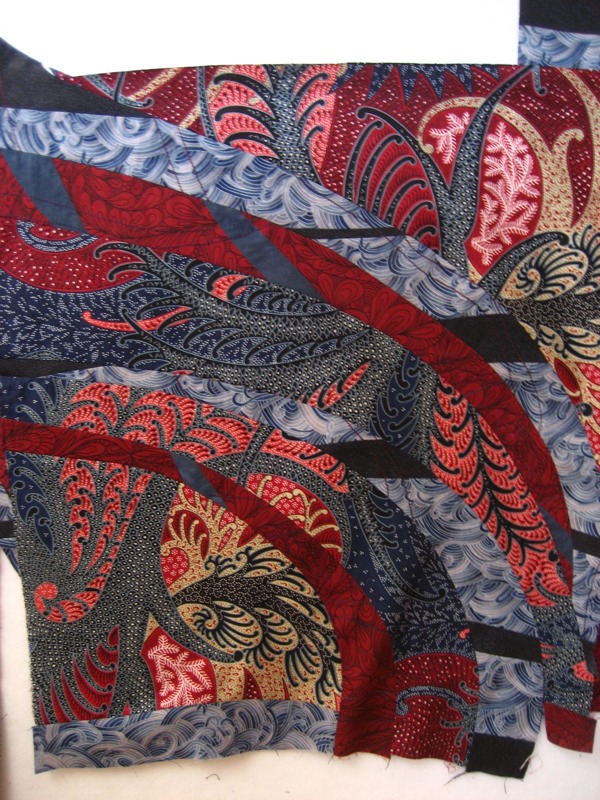
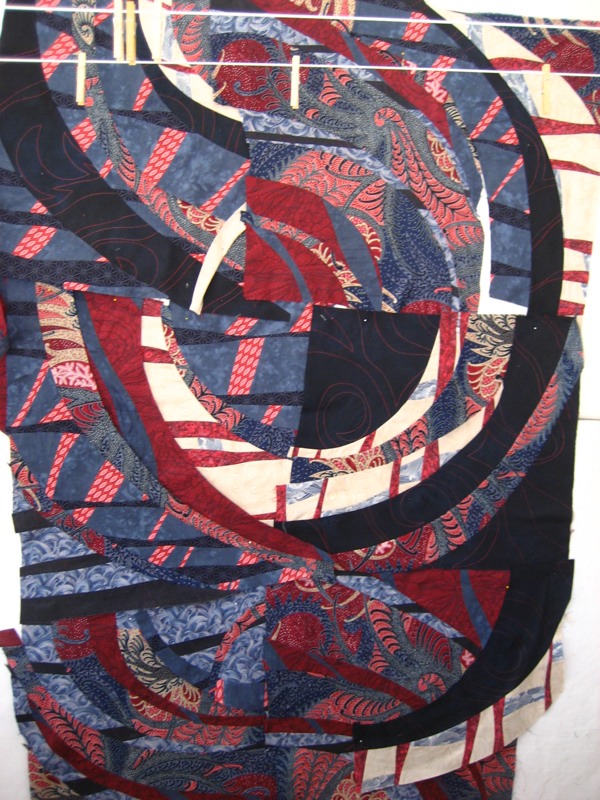
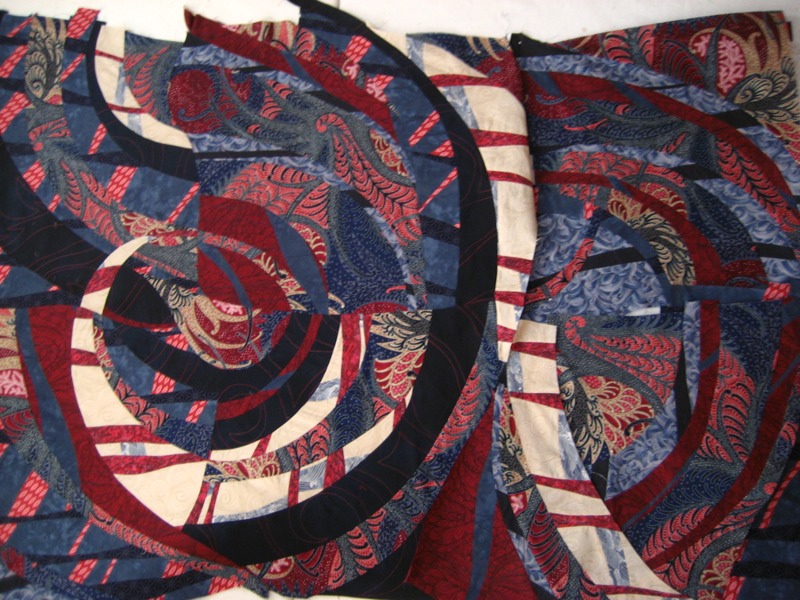
I wanted to share a few photos of "Swirls" as I was working on it. I thought I'd write a bit about the process- like a tutorial perhaps.

But what's on my mind at the moment is how frustrating this piece was to make. I might have give up any number of times, except that I had a commitment and a deadline. And yet, with all that frustration, I felt excited, engaged, challenged. The frustration was actually fun!

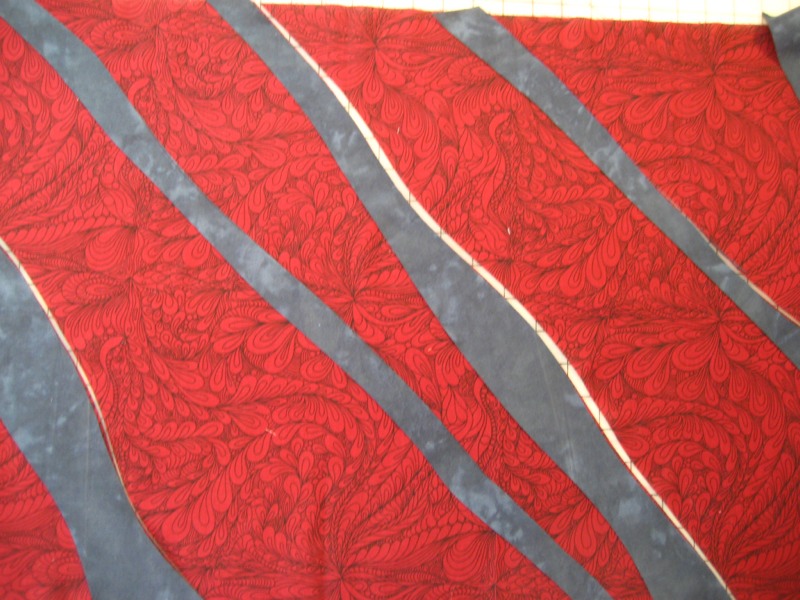
I started with a collection of commercial print fabric, maybe one hand dyed by me.
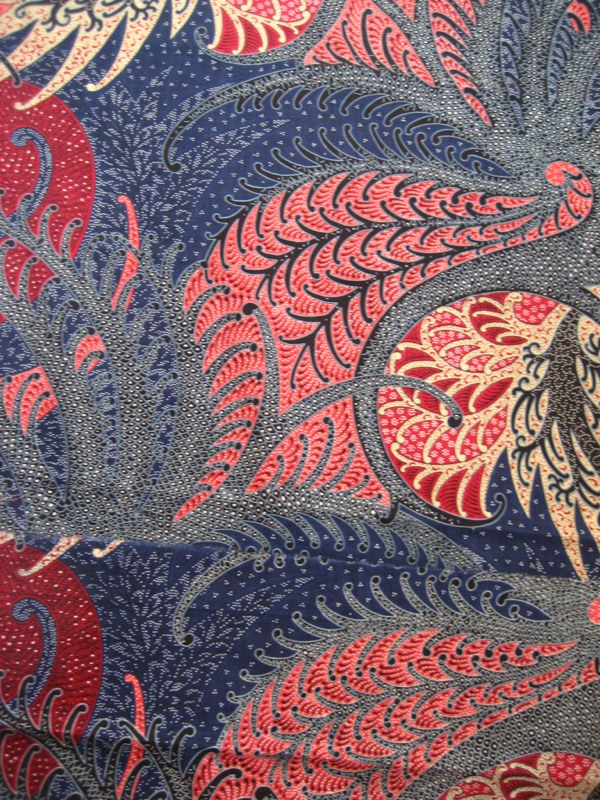
The 'featured' fabric is a large-scale paisley-ish print.


It is a great place to start- lots of movement, texture, value contrast, and interesting from both a distance and up close. But it is blue, red, and off white- definitely not a palette I love. And since color has such a strong effect on my emotions, it was actually my first frustration.


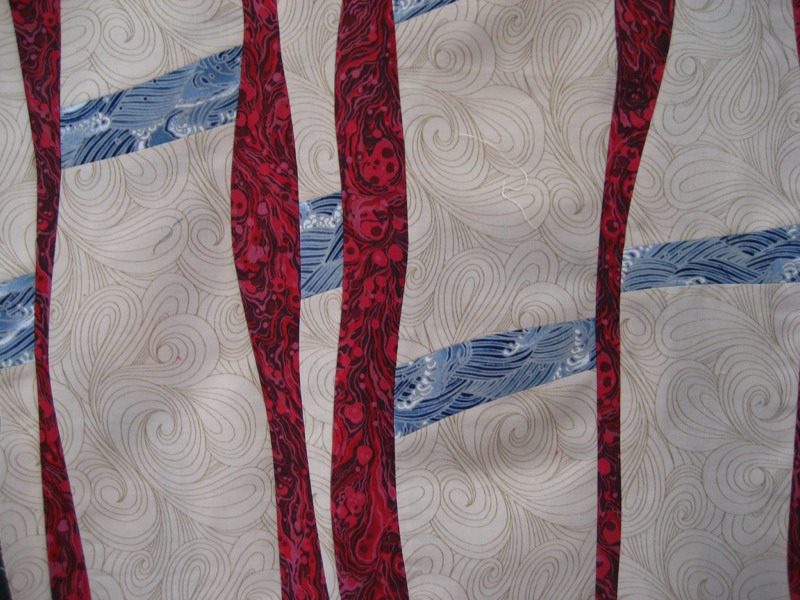
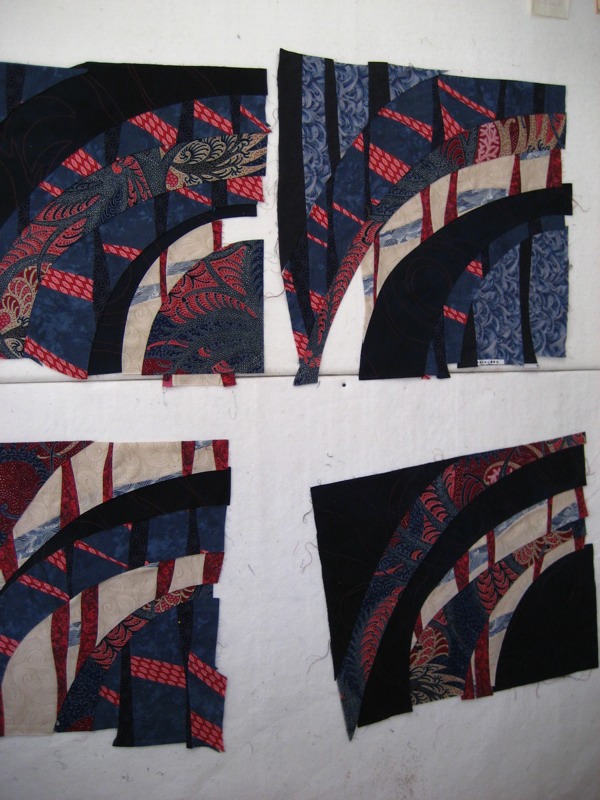
First step in this variation on my "Spontaneous Strips" process is to insert curvy strips into my 'base' fabrics. I made 4 different combinations, using fabrics that were swirly prints, in red, indigo blue, and cream. I machine-stitched wavy lines on some of the pieces.


And then I got stuck. Not frustrated here, but scared. I had a general idea of what I wanted to do with these stripped fabrics, and how to do it. But slicing into them is a big commitment, and although I am never entirely certain of how my ArtQuilts are supposed to end up as I am working on them, I wanted to try out a few options. So I took these photos of the pieces and loaded them onto my iPad.
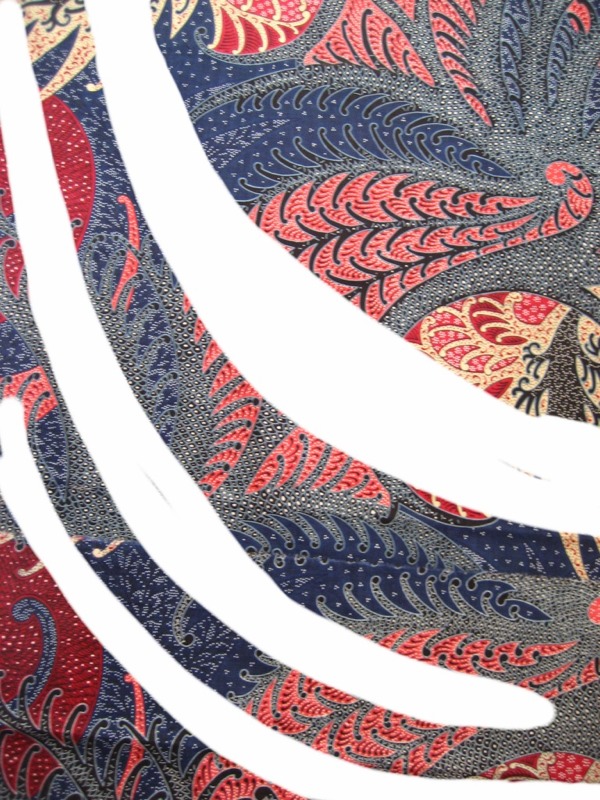
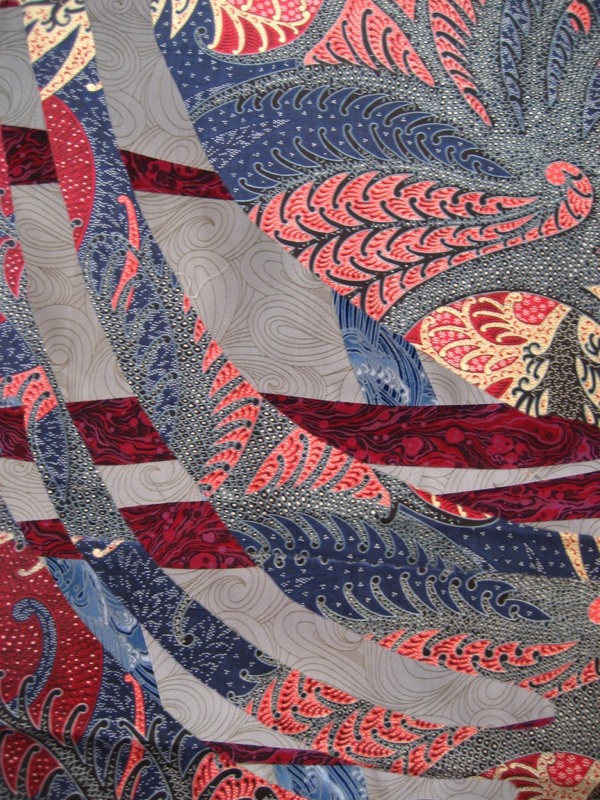
I used a simple painting app, Sketchbook Express, and imported a photo of a different fabric on each of 3 layers. Then I used the ERASER tool to "cut" out sections from the top layer, so the fabric below showed through.


I merged layers, duplicated and rotated, and played around until I had a couple of options. My initial idea was to have a central circle with ripple-like rings. But I liked the one with separate 'blocks'.


So I was ready to stack up 2 of my stripped fabrics and the big print, and slice them into nice arcs which would go back together into 'blocks'. I could have made it a lot easier on myself if all of these had been the same size and shape- but since I started with odd pieces, I ended up with even odder shapes. Causing my next frustrating challenge: how to deal with the big pieces so I can slice them into smaller pieces that will fit back together. Instead of squaring them all up, which would have meant they were quite a bit smaller, I just used them as they were- which only postponed the frustration till the next step.


Assembling arc-shaped pieces into squarish blocks is a challenge- but I'm confident with sewing curves, so it was a fun sort of frustration. I added fabric to the edges of the too-small pieces, and made it work. At the end of this stage in the process, I had 3 interesting blocks to play with and I was liking how they worked together. Notice that I didn't use my computer sketches as patterns, just to get a general idea for the direction I wanted to go.


I made 4 more 'blocks' with the paisley print, a solid navy with machine-stitching, and 2 more stripped fabrics. These had stronger value contrast than the first set, but those big sections of very dark and very light proved to be the next source of frustration. Since they were already sewn into blocks, I couldn't shift just one piece of fabric. Which meant lots of re-arranging (and once or twice cutting and sewing again.)


I finally had the blocks arranged in a way I liked- sort of a combination of the central circle and the separate swirly blocks. But the center was all wrong- the big dark quarter circle is a hole your eye falls into. Frustration! Fun! I needed something that would add to the flowing swirly feeling, and keep your eye moving. Back to the initial busy paisley fabric, I cut a section of the print that echoed the larger swirls, and integrated that into the center. I also continued and finished off the swirl made by the lightest fabric.


The final frustration was the bottom section. I re-arranged and tried everything to make those bottom two blocks work. I had always envisioned this piece as a tall rectangle. But the swirls didn't want to go down, they wanted to flow sideways- changing to a landscape format. Which made perfect sense, as this piece was inspired by a landscape, and made to be displayed in a garden!


The last challenge was finishing the piece as a quilt. I haven't quilted and bound a piece this big in years! But I had the perfect backing fabric, and I knew I could machine-quilt big swirly lines. The only frustration here was re-arranging my studio so my tables could support the quilt as I worked. Oh, and the binding. Binding is my least-favorite part of the whole process. I decided to only have the navy strip showing on the 2 sides- the top and bottom were finished with a facing strip of the backing fabric. I machine-stitched the whole binding, the facings and the hanging sleeve, but had to go back and hand-sew some places on the back.


Well, there were actually 2 more frustrating challenges: making a good photo, and hanging it. But those were after it was finished!


Posted by Adriene Buffington
Friday, April 12, 2013

Fiber Art in the Japanese Friendship Garden


During the month of March, I had the opportunity to share my ArtQuilts in a unique venue- the Japanese Friendship Garden in downtown Phoenix.

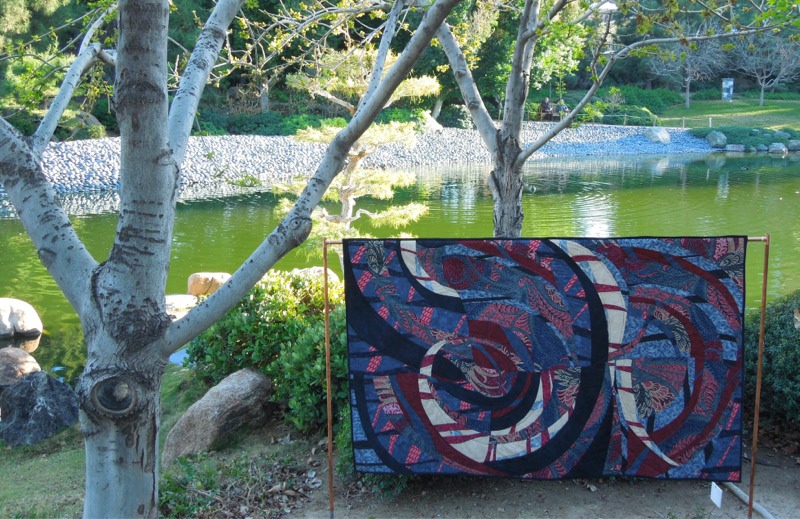
Here are my 2 newest pieces, on display in this lovely outdoor setting, with haiku poems to go along with the theme: Fiber Haiku


Meditation


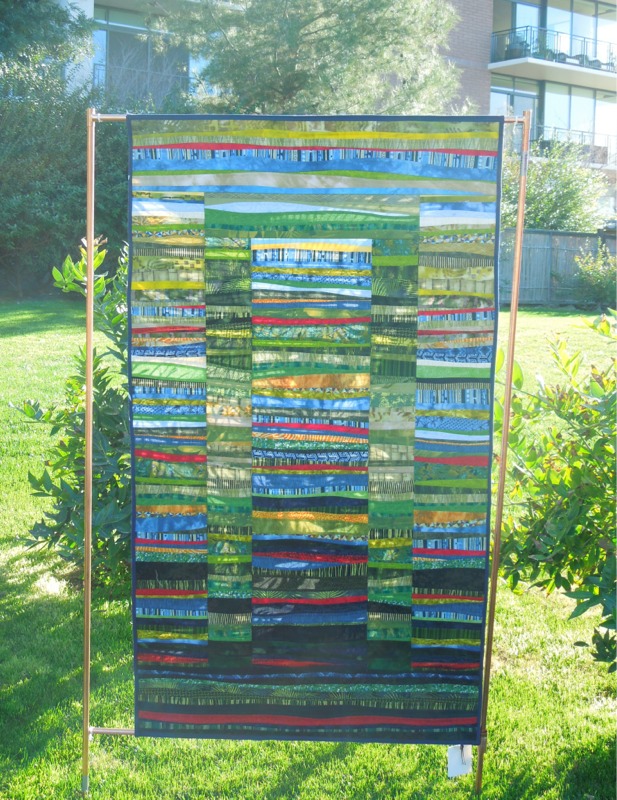
Meditation is
A doorway to inner peace.
Sit still. Breathe deeply.


36" x 64" $1900


Swirls


Wind ripples water.
Breeze rustles leaves. Branches sway.
But stones remain unmoved.


66" x 41" $2500


Location: Phoenix

Monday, July 9, 2012

new blog

Thanks for stopping in - 
                          but I have moved this blog to my webpage.

please go to  AdrieneBuffington.com 

for new blog posts 
and galleries of my Art Quilts


Friday, June 17, 2011

My Studio and My Tools

My studio is a little less than 8 feet wide, set up so I can move between sewing, cutting, pressing and designing stations by simply rolling and rotating in my chair. I have felt-covered Styrofoam boards nailed to the walls, and a couple of free-standing design boards. Fabric pieces easily cling to the felt surface and I can stick a pin through the Styrofoam if needed. These design walls are usually covered with works-in-progress, and sections of strip pieced fabrics from which I construct my art quilts.


I sort and store my fabric in clear plastic boxes - the size made to fit under a bed. Every piece of fabric, whatever the length or width, is wrapped around a 6" acrylic ruler - and then I slip the ruler out so I have a flat roll of fabric. I stack the fabric on end in the boxes, so I can see the skinny edge of every piece in the box. Each box contains a color collection of fabrics - mixing prints, solid and hand-dyed fabrics, in pieces ranging from a few inches wide to a yard or two.


I cut strips of fabric using a rotary cutter, but no ruler, As I cut, I toss the strips in piles like fabric fettuccini. I will cut a variety of widths, in a range of values, hues and visual textures. The greater the number of different fabrics, the better they seem to work together. I organize these loose strips in large plastic baggies - hanging from a clothesline that stretches across the room above my head.


My sewing machine is a Juki TL 98Q with a quarter inch presser foot, knee lift and foot-operated thread cutter, which allows me to sew at breakneck speed. I also have a lot of control at slow speeds, and can set the needle to stay in the down position every time I stop. It only does a straight stitch, but it does it perfectly, and very fast. It is also fabulous for free-motion machine quilting.


Another essential tool is my steam iron: I press each seam as soon as they are sewn - usually pressing seam allowances open to reduce bulky intersections. I press at each step of the cutting-sewing process, so a piece will be perfectly flat when finished. I made a large, rectangular ironing surface. from an aluminum shelf covered with a cotton towel and silver ironing board fabric.

My studio is one of my favorite places to be. I have good light and lots of design walls, and everything is organized so I can find exactly what I want without hunting. I love being able to sew, press, cut and design without getting out of my one rolling chair!

Thursday, October 14, 2010

website development


. . . but I don't LIKE neutral gray backgrounds!

I am working with a professional website designer to create AdrieneBuffington.com , which will be my professional artist website. I may drive her bonkers, because I want it to look like a work of MY art, without detracting from my actual art.

So at the moment, I am scanning images of my hand-dyed fabric. Why? Because it has that crunchy texture I like better than a flat solid, and because it has a smidgen of color. the scanner is picking up the weave of the fabric too, which is strange. I may shoot photos of backgroundy fabrics too.

Once the whole thing is done, I will have a re-designed blog too. which I will actually USE to blog more than twice a year.

Tuesday, June 15, 2010

Vision Gallery
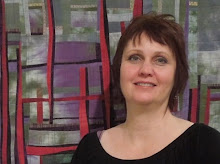
My artwork is at The Vision Gallery in downtown Chandler!

This gallery is fabulous - it is owned and operated by the city of Chandler (the Chandler Cultural Foundation). I feel really happy to have my work in this space.

Brave the road construction on Arizona Avenue, south of Chandler Blvd and stop in - the address is 80 South San Marcos Place (and yep, it's just south of the San Marcos hotel). In October, the gallery will move to the new city hall building, and the current artwork will probably stay up until then.

I was talking to the curator/director today when I dropped off my pieces, and Eric said I should definitely raise my prices- so I did! But I still want to SELL some - so I didn't make them too high.

Chandler Artwalk is now the Third Friday evening of each month - I will be in the Vision gallery for a while this Friday if you want to come down and say hello. Its not a formal opening, but it'll be cool.

sneak preview of what I have in the gallery: